
 Victoria
 New South Wales
 South Australia
 Queensland
Geotagging Compliance Photos.
Taking onsite geotagged photos is a requirement for the various energy efficiency and renewable energy schemes that Ecovantage participates in. Onsite geotagged photos are an important part of the compliance process required to generate energy efficiency and renewable energy certificates as they show the address of the installation site.
The instructions below are provided to guide you through each step necessary to capture and send onsite geotagged photos.
Turn on Location Services.
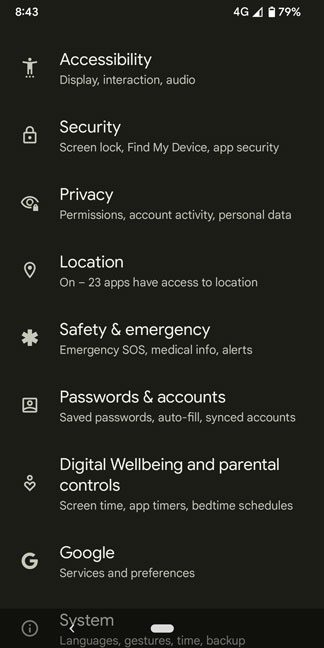
1. Go to ‘Settings’.
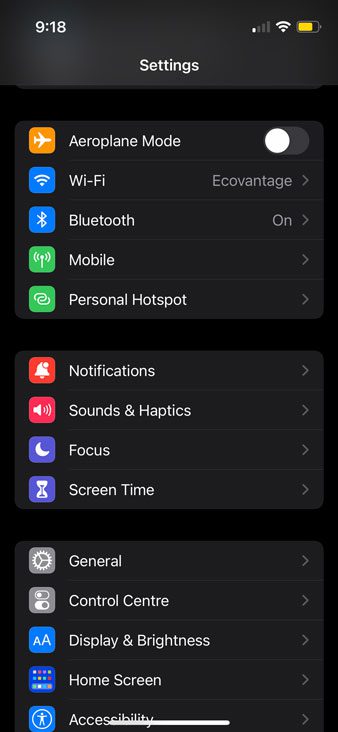
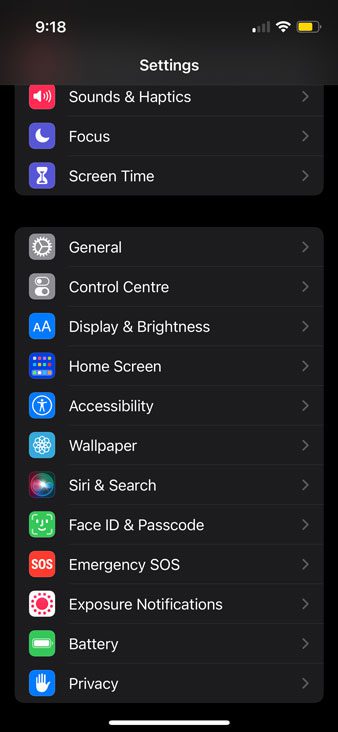
2. Scroll down and select ‘Privacy’.
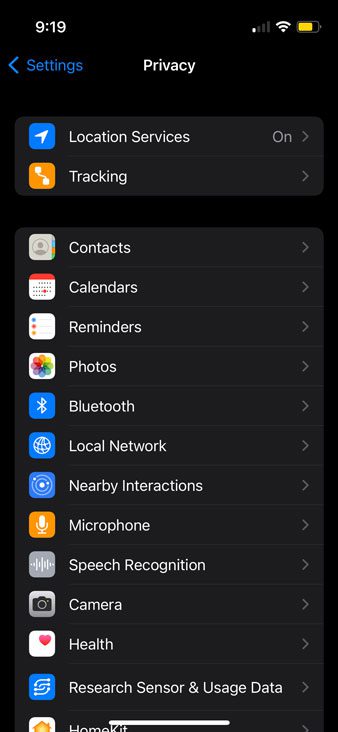
3. Select ‘Location Services’.
4. Turn ‘Location Services’ on (the slider is green).
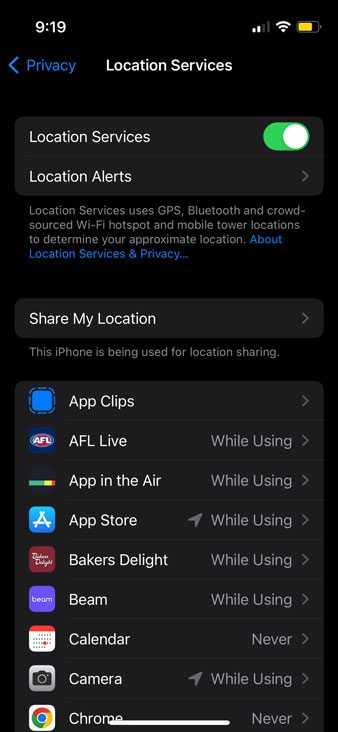
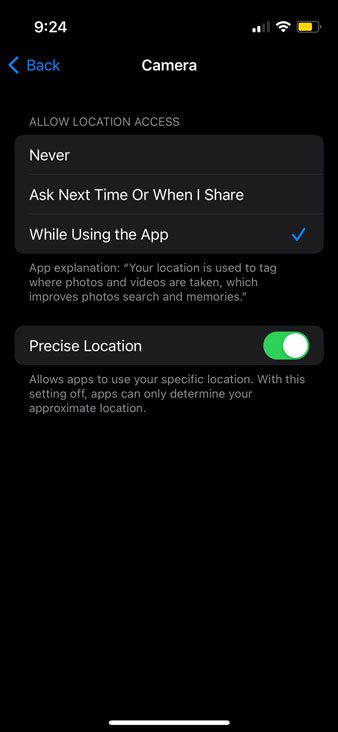
5. Scroll down and select ‘Camera’.
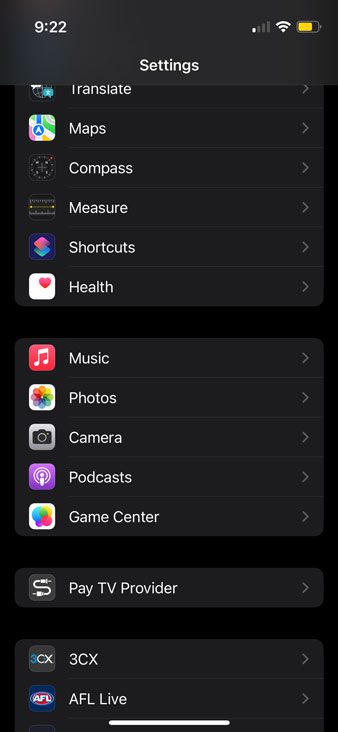
6. Select ‘While Using the App’.
How to Check Photos are Geotagged.
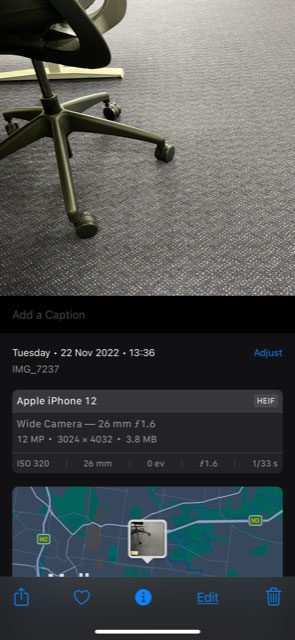
- Go to your Photos app.
- Select the photo and when it opens, swipe up.
- Along with date information, if there is a map shown then the photo is geotagged.
How to Download and Send Photos from your Phone.
Note: the default iOS mail app, Mail, is not suitable for sending geotagged photos as it doesn’t attach the images. You will require another email application such as Gmail or Outlook.
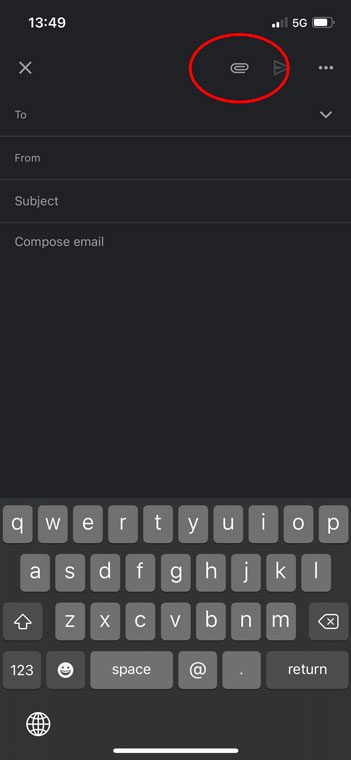
- Open the email app and create a new email.
- Click the attach icon – usually a paperclip, and locate all the required images.
- Enter your email address and send.
Please do not:
- Paste photos directly into the email text field or the geotagging information will be lost.
- Send photos via any app other than email otherwise the geotagging information will be lost.
How to Download and Send Photos from your Computer.
iPhone to Mac.
- Connect your iPhone to your Mac with a USB cable.
- Open the Photos app on your computer.
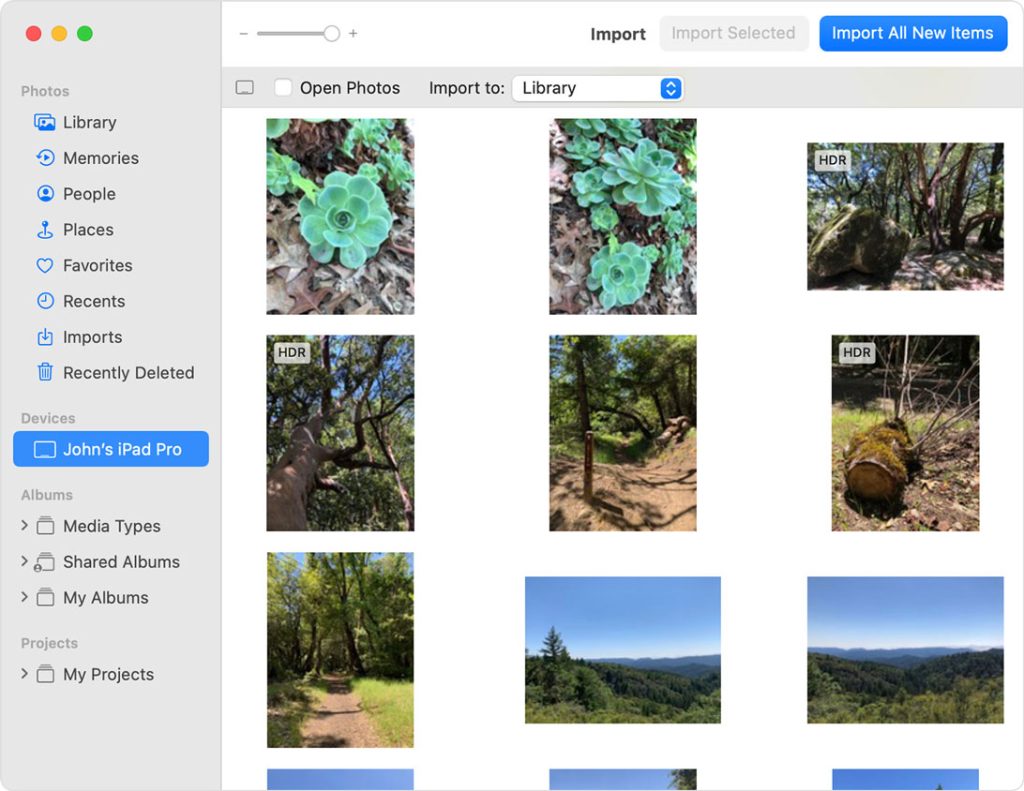
- The Photos app shows an Import screen with all the photos and videos that are on your connected device. If the Import screen doesn’t automatically appear, click the device’s name in the Photos sidebar. Select the photos you want and click ‘Import’.
If you require further assistance, please see Apple’s support article here.
iPhone to Windows.
- Connect your iPhone to your computer with a USB cable.
- Turn on your iPhone and make sure it is unlocked.
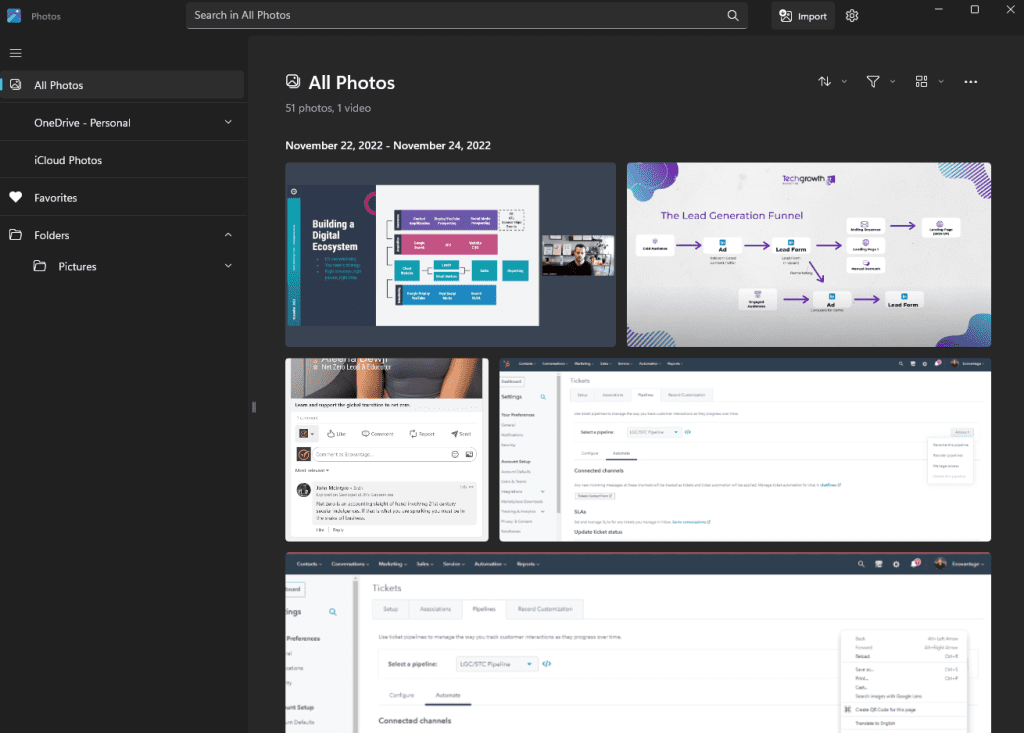
- Press the Windows key and open the Photos app
- Select Import > From a USB device
- Follow the onscreen instructions to download your selected photos.
If you require further assistance, please see Microsoft’s support article here.
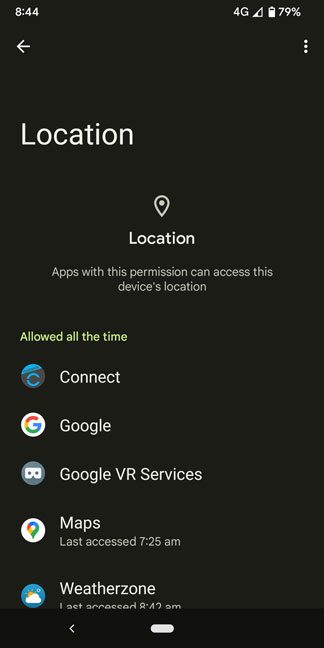
1. Open ‘Settings’, click on ‘Location’.
2. Make sure ‘Use Location’ is on.
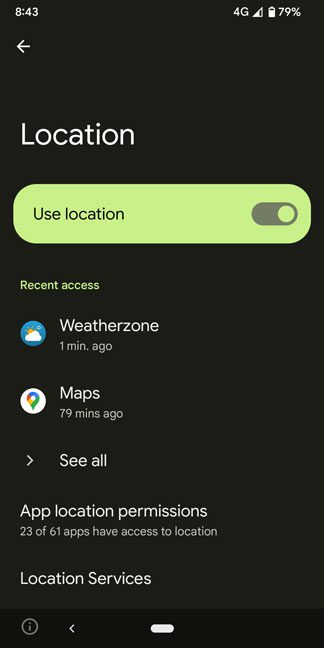
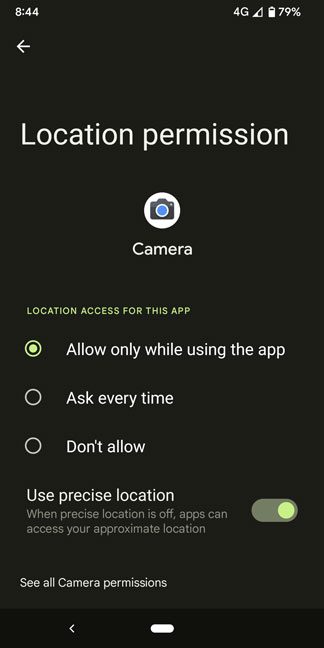
3. Scroll down to select ‘Camera’.
4. Make sure the camera is set to have ‘Use precise location’ on.
5. Open the camera and slide up for Settings, and click ‘More settings’.
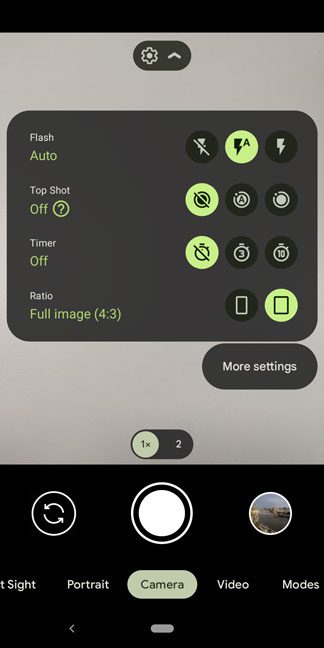
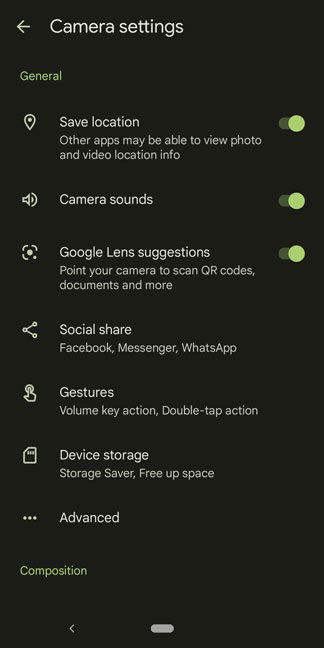
6. Make sure ‘Save location’ is turned
on.
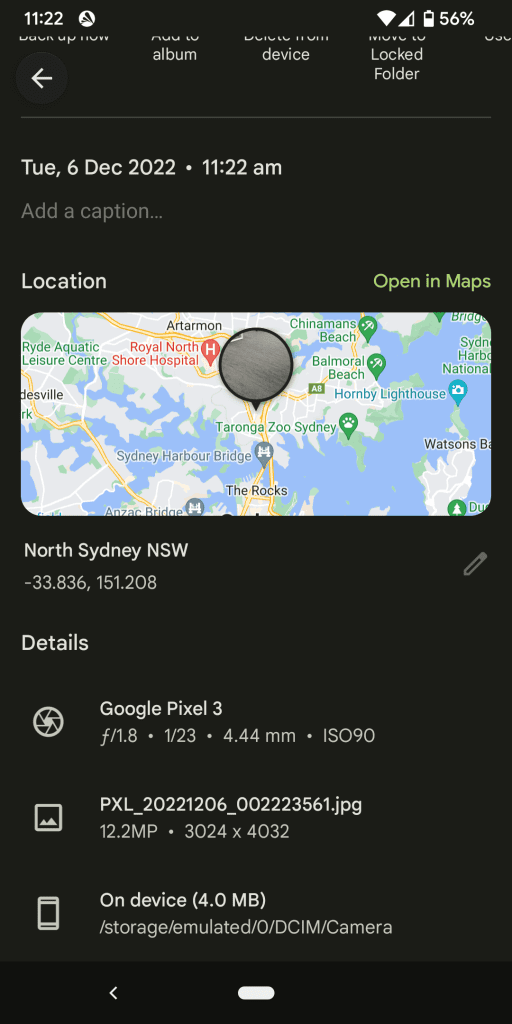
How to Check Photos are Geotagged.
- Open the photo Gallery and select the photo.
- Click on the three dots in the top right-hand corner, and select ‘Details’.
- If the photo is geotagged it will display the address and location map.
How to Download and Send Photos from your Phone.
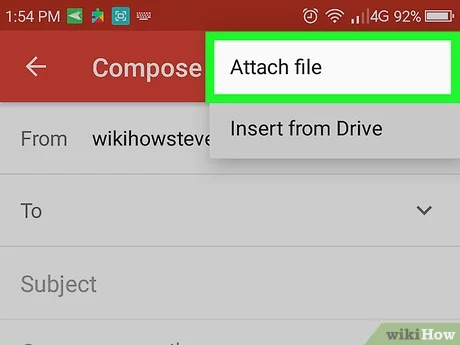
- Open the email app and create a new email.
- Click the attach icon – usually a paperclip, and locate all of the required images.
- Enter your email address and send.
Please do not:
- Paste photos directly into the email text field or the geotagging information will be lost.
- Send photos via any app other than email, or the geotagging information will be lost.
How to Download and Send Photos from your Computer.
Android to Windows.
- Connect your phone to a laptop or computer using a USB cable.
- Tap on the Android System notification displaying ‘Charging this device via USB’.
- Under ‘USB Preferences’ > ‘Use USB for’ > select ‘Files transfer/Android Auto’.
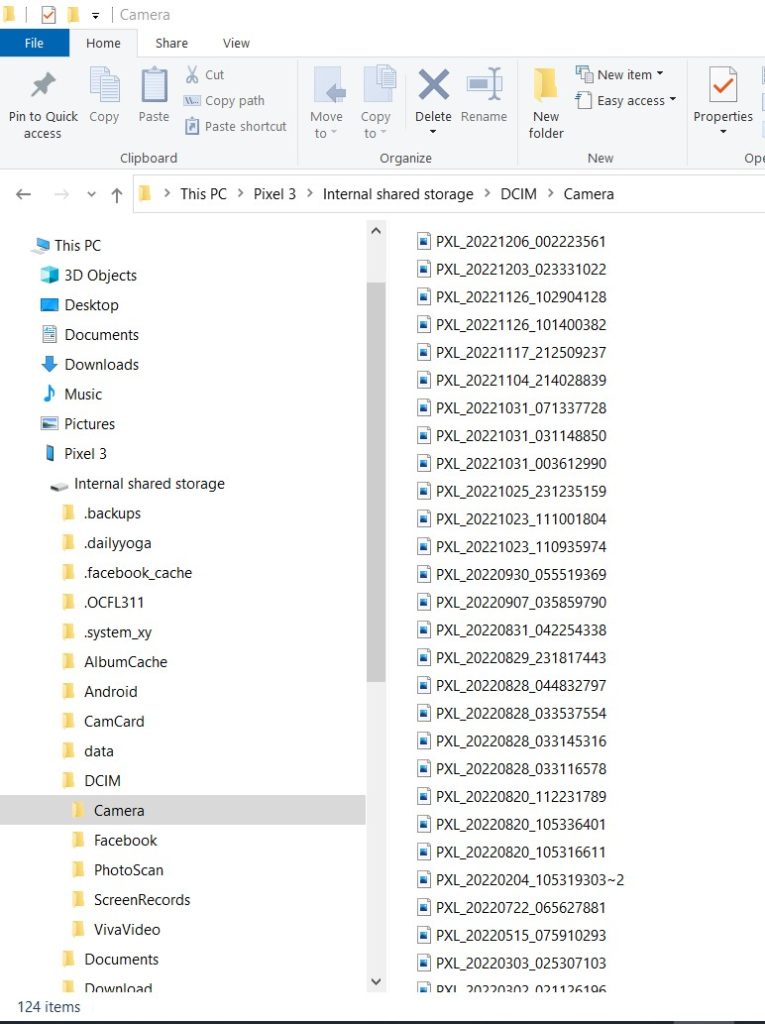
- On the File Explorer window, select ‘Internal shared storage’ > ‘DCIM’ > ‘Camera’
- Copy your files across.
- Open your email and click on the attach files icon (usually a paperclip) to attach the geotagged photos.
Android to Mac.
- Connect your Android to your Mac with a USB cable.
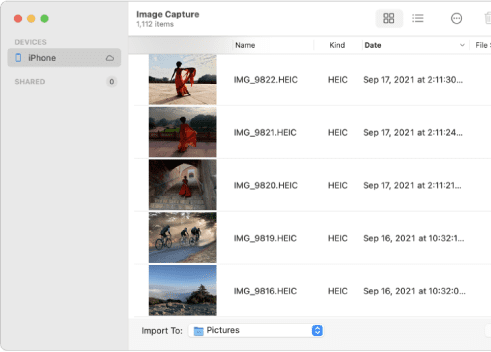
- Open ‘Image Capture’.
- In the sidebar, click on your Android device.
- Choose the folder where you want to save your pictures using the drop-down menu.
- Then, select the images you want to transfer and click ‘Download’.
Support.
If you are still having trouble with geotagging photos, please contact your Ecovantage account manager.